Choosing the right, criterion-based return-to-sport plan after ACL reconstruction is the first move toward safe performance and long-term resilience. This guide shows you what to achieve at each phase, which tests prove readiness, and how to progress from protected motion to sport loads. Expect concrete exercises, time windows, decision criteria, and mental strategies so you can act with precision and confidence.
Table of Contents
- Step 1: Immediate Post-Op Management
- Step 2: Early Rehabilitation (Weeks 0-6)
- Step 3: Strength & Neuromuscular Training (Weeks 6-12)
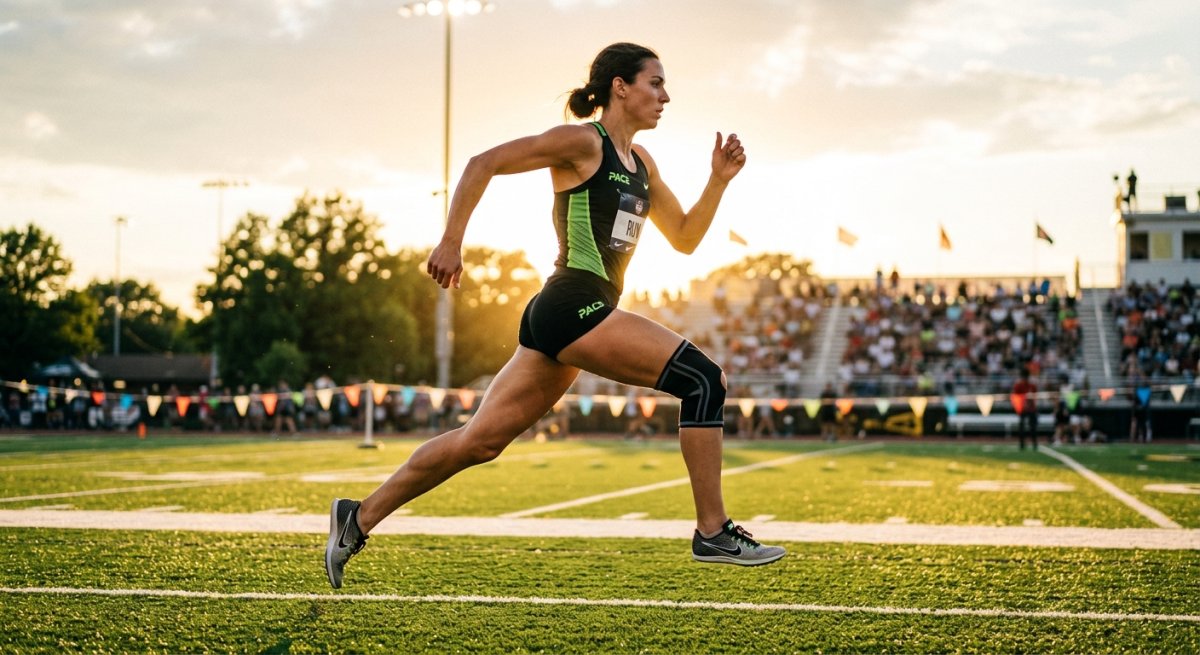
- Step 4: Advanced Strength & Plyometrics (3-6 Months)
- Step 5: Functional Testing & Return Criteria
- Step 6: Graded Sport Reintroduction
- Step 7: Long-Term Maintenance & Prevention
Quick Summary
| Key Point | Explanation |
|---|---|
| Phase-based progression | Move by meeting objective criteria, not dates; expect variability per athlete. |
| Early ROM and activation | Full knee extension by week 2, quad activation 4/5 by 8-12 weeks. |
| Strength symmetry targets | Limb symmetry index (LSI) ≥90% on hop and strength tests before full return. |
| Psych readiness matters | Use ACL-RSI and graded exposure to reduce fear and improve performance. |
| Maintenance program | Continue neuromuscular prevention 2-3x/week indefinitely to lower re-injury risk. |
Step 1: Immediate Post-Op Management
This step controls swelling, restores safe range of motion, and establishes pain and muscle activation baselines. Early control avoids compensations that cause long-term deficits and sets a foundation for precision-based progression.
Start within 24-72 hours after surgery: control swelling with elevation, ice for 15-20 minutes every 2 hours, and compressive dressing as instructed. Use protected weight bearing per surgeon protocol; many ACL reconstructions allow partial to full weight bearing with crutches as tolerated in the first 1-2 weeks. Begin gentle passive and active-assisted range-of-motion: aim for full extension (0 degrees) by day 10 to 14 and flexion to 90 degrees by week 2.
Activate the quadriceps early: perform quad sets 3 sets of 10, straight leg raises 3 sets of 10 (avoid pain), and ankle pumps hourly to reduce DVT risk. Use an ice and compression protocol after exercise to manage inflammation. Verify progress at each clinic visit: reduced effusion, improving extension, and visible quad contraction.
Troubleshoot persistent swelling or inability to extend: reduce activity, increase cryotherapy, consult the surgeon for aspiration if effusion worsens. Validate success when you can achieve full extension, symmetrical passive ROM compared with the contralateral limb, and a visible voluntary quad contraction.
Perform a short video of your active extension and send it to your therapist if you have trouble describing your movement; this helps us spot compensation early.
[IMAGE: Photo of heel prop for regaining full extension and a diagram of quad sets]
Step 2: Early Rehabilitation (Weeks 0-6)
This phase restores gait, builds foundational strength, and prevents reactivation of pain. Proper early dosing reduces atrophy and improves neuromuscular control so later high-load training has a quality base.
Progress to full weight bearing and normalized gait by week 2 to 4 using assistive devices as needed. Continue ROM work: daily mobility drills to reach and maintain full extension and 120+ degrees of flexion by week 6 when tolerated. Strengthen with closed-chain low-load exercises: mini-squats to 30 degrees, leg press 3 sets of 10 at light load (pain-free), and step-ups 3 sets of 8 at 15-20 cm height.
Introduce balance and proprioception training: single-leg stance 3 sets of 30 seconds, progressing by eyes-closed or foam surface. Monitor pain and swelling: if pain increases >2/10 after a session or swelling persists for 48 hours, reduce load and revisit form. Expect quadriceps activation to improve; aim for a Medical Research Council (MRC) grade 4/5 by week 6.
Troubleshoot poor quad activation with NMES: apply neuromuscular electrical stimulation during quad sets 10-15 minutes, 2-3 times daily to augment voluntary contraction. Validate this phase by pain <2/10 at rest, near-normal gait without assistive device, and consistent quad contraction visible on inspection.
Use a mirror or phone camera to check knee alignment during squats; correct frontal plane collapse early to prevent movement errors.
Step 3: Strength & Neuromuscular Training (Weeks 6-12)
This phase builds strength, endurance, and running readiness while addressing movement quality faults that predict re-injury. Focus on targeted hypertrophy and neuromuscular control rather than high-impact loading.
Increase resistance training frequency to 3 sessions per week: leg press 3×10 at progressive load, Romanian deadlift 3×8 at moderate load, and Bulgarian split squats 3×8 each leg. Aim for progressive overload: increase load 5-10% when you complete all reps with good form. Begin a monitored running progression around week 8 to 10 if criteria met: pain-free hop, minimal effusion, and quad strength ≥70% LSI.
Integrate dynamic control drills: drop-to-squat from 20 cm for landing mechanics, lateral bounds 3×6, and single-leg Romanian deadlifts 3×8. Use movement feedback: video, mirror, or clinician cues to correct valgus collapse and stiff landings. Monitor objective metrics weekly: single leg hop distance, isometric quad force with handheld dynamometer, and pain rating after sessions.
Troubleshoot strength asymmetry with unilateral overload: prioritize the surgical limb in sets (e.g., one extra set) and use higher volume (4 sets) if LSI <80%. Validate success by reaching at least 80-85% strength symmetry, consistent movement quality during dynamic drills, and gradual tolerance of short jogging intervals.
Record hop distances and strength numbers on a simple spreadsheet; objective trends beat subjective impressions when deciding progression.
[IMAGE: Sequence showing single-leg landing with correct knee alignment and a checklist of strength targets]
Step 4: Advanced Strength & Plyometrics (3-6 Months)
This phase prepares you for sport-specific loads: high-velocity cuts, jumps, and change of direction. Prioritize eccentric strength, reactive control, and progressive exposure to sport tasks.
Progress to heavy strength sets: squats 3-5 sets of 4-6 reps at 75-85% of 1RM, loaded step downs 3×8, and Nordic hamstring eccentrics 3×6 if tolerated. Add plyometrics twice weekly: double-leg box jumps 3×6, single-leg hops 3×6, and lateral bounds. Start high-velocity deceleration drills at low intensity: 50% approach speed focusing on controlled braking mechanics.
Monitor neuromuscular symmetry with hop battery: single hop, triple hop, and crossover hop. Aim for LSI ≥90% across tests. Video and clinician-rated movement quality should show minimal valgus and good trunk control during high-speed tasks. If movement faults appear, regress to lower intensity plyometrics and retrain technique.
Troubleshoot persistent asymmetry by isolating deficits: if eccentric quad strength lags, use controlled slow eccentric leg press 3×8 at moderate load. Validate readiness for functional testing when you consistently achieve strength goals, LSI ≥90% on hop tests, and sport-like drills at 75-85% speed without compensation.
Use short, measurable progressions for plyo intensity – increase approach speed by 10% increments and record perceived control each session.
Step 5: Functional Testing & Return Criteria
Objective testing prevents premature return. Use a battery of measures covering strength, hop symmetry, and movement quality to form a clinician judgment alongside athlete readiness.
Administer a battery: isokinetic or handheld strength testing (quad/hamstring), single hop, triple hop, crossover hop, timed agility test, and clinician-rated landing/cutting quality. Require LSI ≥90% on hop tests and strength measures, acceptable movement quality scores from 0-10 scale, and no effusion or instability. Combine this with psychological readiness: ACL-RSI score trending upward and athlete reporting confidence on graded return tasks.
If a test fails, target deficits: strength deficits – prioritized hypertrophy and unilateral loading; hop deficits – plyometric regressions and technique drills; movement quality – motor control drills and cueing. Re-test every 2-4 weeks after targeted remediation until criteria met. Document objective values and use them to guide graded return.
Validate success by meeting all physical criteria, achieving an ACL-RSI score consistent with confidence (improvement toward normative values), and clinician agreement that the athlete can tolerate sport load without compensation.
Use a simple algorithm: fail any core test – pause full return, prescribe 4 weeks of targeted remediation, retest. This keeps decisions criterion-based and transparent.
Step 6: Graded Sport Reintroduction
Reintroduce sport through staged exposure to contact, decision-making, and unpredictable loads. Controlled progression reduces re-injury risk and builds psychological confidence.
Begin with controlled non-contact drills: sport-specific technical tasks, light interval running, and position work at 50-60% intensity. Progress over 2-6 weeks: add reactive drills, intermediate contact, then full practice participation with limited minutes. Monitor tolerance: pain, swelling, and performance quality after each session. Increase game-level exposure only after several full-intensity practices without setback.
Tailor phases by sport: for soccer, prioritize cutting and sprint endurance; for basketball, emphasize short sprints and jump-landing; for skiing, focus on eccentric knee control and unilateral balance. Use small wins goal-setting: measurable markers like 10 successful cuts at 80% without compensation.
Validate readiness for full competition when the athlete completes multiple full-intensity practices, reports confidence, and maintains objective symmetry numbers post-practice.
Return a player to limited minutes in a game context first; use objective metrics like GPS peak speed and high-intensity run counts to set thresholds for increasing play time.
Step 7: Long-Term Maintenance & Prevention
Long-term care prevents late re-injury and addresses osteoarthritis risk. Embed neuromuscular maintenance, periodic reassessment, and load management into your routine.
Prescribe a maintenance program: neuromuscular injury-prevention sessions 2-3 times per week (FIFA 11+ elements), strength sessions 1-2 times per week focusing on eccentric control, and sport-specific conditioning. Schedule re-assessments at 3, 6, and 12 months post-return with strength, hop tests, and clinician review. Use technology like wearable load monitors for high-volume athletes to detect spikes that require load reduction.
Educate athletes on early warning signs: swelling after activity, changes in movement quality, persistent pain, or instability. Act promptly: modify load for 1-2 weeks, resume targeted remediation, and consult clinician if symptoms persist. Long-term success equals consistent maintenance, not occasional therapy.
Keep a 12-week rolling log of weekly load, symptoms, and performance markers; adjust training to avoid sudden increases greater than 10-15% week to week.
[IMAGE: Example 4-week reintegration plan for a soccer player showing drills, intensity, and progression]
| Assessment Area | What to Examine | Impact on Outcome |
|---|---|---|
| Range of Motion | Full extension (0 degrees), flexion ≥120 degrees | Restores normal gait, reduces compensatory loading |
| Quadriceps Strength | Handheld dynamometer or isokinetic test, aim LSI ≥90% | Reduces re-injury risk and improves jump/stop mechanics |
| Movement Quality | Videoed drop landings, cutting tasks; clinician-rated valgus/trunk control | Predicts safe load tolerance and guides technique remediation |
| Psychological Readiness | ACL-RSI score, confidence in graded exposure | Determines adherence and reduces fear-based movement patterns |
| Approach | Scalability | Use Case |
|---|---|---|
| Basic | Low equipment, clinic-based tests, bodyweight progressions | Community athletes, limited access to testing |
| Advanced | Isokinetic testing, motion analysis, wearable load monitoring | Competitive athletes, return-to-play clearance |
| Hybrid | Handheld dynamometry + video analysis + progressive gym program | Most athletes seeking performance and resilience |
Unlock Return-to-Play Confidence with Back in Motion
We assess precisely, fix the root causes, and build resilience so athletes return stronger and smarter. Our approach combines detailed movement analysis, evidence-based strength progression, and psychological readiness checks to create a clear, criterion-driven path back to sport.
We use objective testing, targeted remediation, and sport-specific reintroduction plans so you avoid generic rehab and focus on long-term performance. Contact us to get started with an assessment-driven program tailored to your sport, position, and goals.
- Assessment-driven plans with measurable milestones
- Sport-specific return protocols and ongoing monitoring
- Long-term prevention and performance-focused maintenance
Frequently Asked Questions
Q: When can I expect to start running after ACL reconstruction? A: Most athletes begin a graded running progression between weeks 8 and 12 if they have minimal swelling, good quad activation, and strength ≥70% LSI. Start with walk-jog intervals and increase volume by no more than 10% per week.
Q: What objective tests determine readiness for sport? A: Use a battery: isokinetic or handheld strength tests, single/triple/crossover hop tests, timed agility, and clinician-rated movement quality. Common benchmarks include LSI ≥90% and no persistent effusion or instability.
Q: How long before I can play competitively again? A: Typical timelines vary from 6 to 12 months depending on graft type, sport demands, and objective readiness. Prioritize meeting criteria over an arbitrary date to reduce re-injury risk.
Q: How do I measure psychological readiness? A: Use the ACL-RSI scale and simple clinician questions about confidence in sport tasks; combine with graded exposure and record improvement across sessions. Refer to sport psychology if fear or avoidance persists after targeted exposure.
Q: What are red flags that require urgent review? A: New or increasing swelling lasting >48 hours, loss of ROM, uncontrolled pain, warmth or drainage at incision, or feelings of giving way. Stop activity, rest, and contact your clinician or surgeon promptly.
Q: How do I know maintenance is effective long-term? A: Track periodic re-assessments at 3, 6, and 12 months showing maintained LSI ≥90% or gradual improvement, stable movement quality, and absence of activity-limiting symptoms. Adjust maintenance if metrics decline.
Leave a Reply